Now here’s a novelty, besides high voltage! A two watt 445nm “M140” diode in heatsinked, focusable housing, all with a regulated constant current driver. So, here’s the result of jumping on the bandwagon of lasers…
The most precious part in this circuit is, guess what, the diode itself! Being extremely! sensitive to operating temperature, static electricity, reverse voltage and current spikes I had to take all these factors into consideration while making the driver. And even with the “heatsinked” setup, all it can handle without some Peltier cooling is a runtime of 1 minute on maximum power (2000 mW) and a cool-down time of 1.5 minutes.
Yes, without active cooling, all it can handle is a case temperature of 50-55 degrees centigrade, with an ideal thermal transfer, after which the overall lifetime (number of operating hours) starts to decrease sharply. The diode itself wasn’t new when bought from eBay, so that adds a little notch to its health.
The constant current driver itself had been made from an operational amplifier and a MOSFET – schematic below – so it has been of a linear topology. Properly tuned, it provided a smooth regulation between 100mA up to 1750mA of supply current. In later stages I’ve replaced the driver with a small SMPS circuit board to increase efficiency.
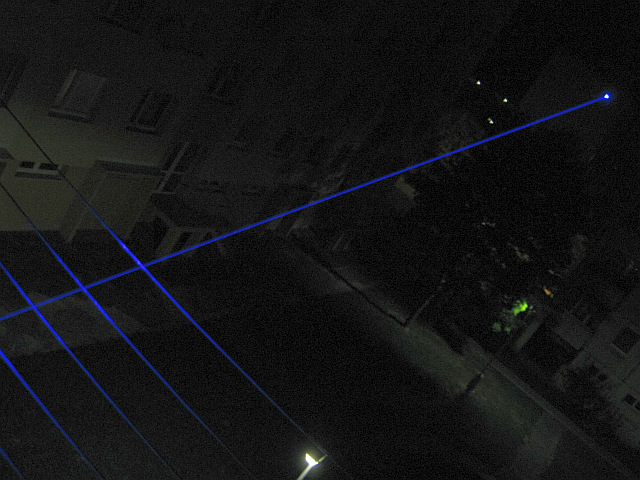
At full power, burns into wood and plastic up to 20m and ignites matches up to 35m. That means – eye protection is absolutely required, even the shortest duration contact with the main beam and your eyes can easily lead to permanent damage; partial or full blindness. Care must be taken with the scattered beam, too!
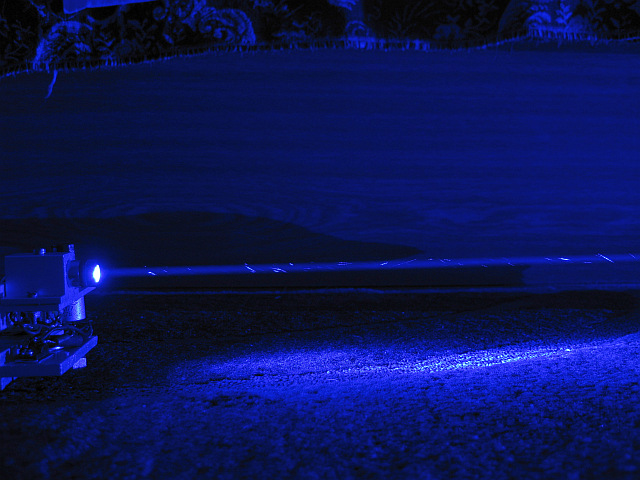 Main beam in dark at full power
Of course, output power depends on the current flowing through the diode. Depending on its health and lens used, a new M140 diode can provide of about 500mW at 450 mA, 1 W at 750 mA and 2 W at 1500 mA. Source
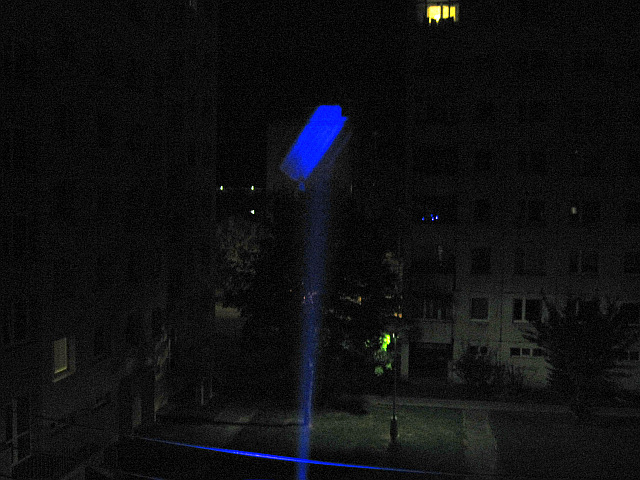
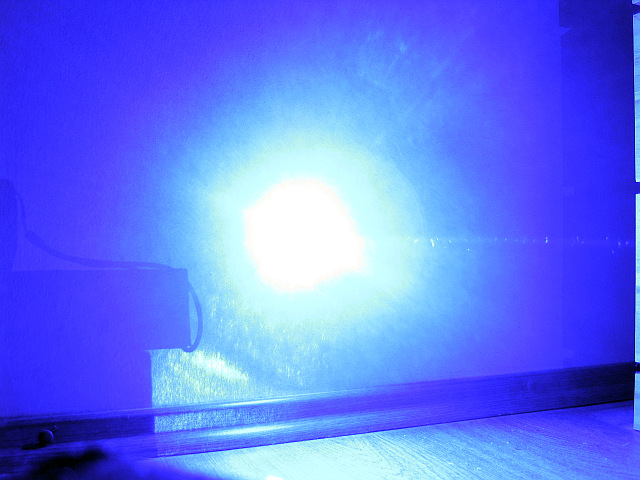
Just to give you an estimate of its brightness 🙂 Hit the wall from a 4 meter distance.
Now for the schematic itself – be sure to solder in the diode as last, and use some grounding straps to your hand and your soldering iron/gun. My advice is to buy a completed module on eBay, so you don’t have to press the little thing in the module. Grab one with glass lens, as it will fry through any plastic/acrylic lens at full power.
ESD protection is already intact, but I’d also recommend placing a diode in series with the whole circuit in order not to reverse input polarity.
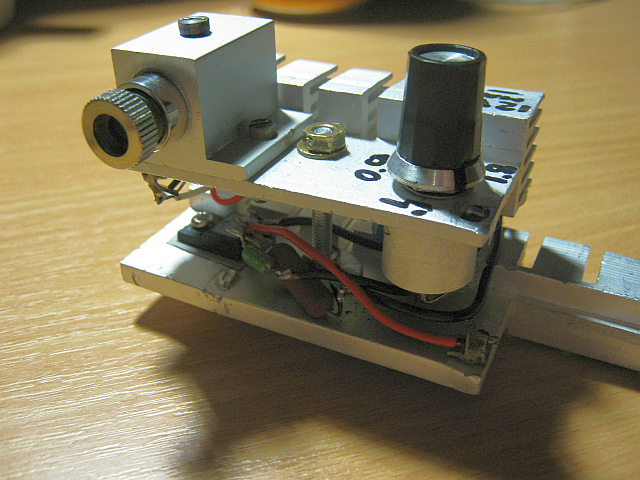
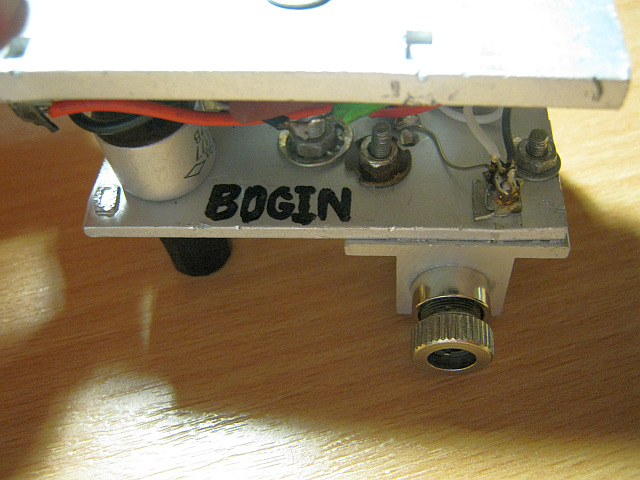

Very nice of your project but I do not understand where every component needs to get into the circuit. As if to make it more understandable. Thanks.
There is a schematic, just wire it up.as you wish where you wish. Dots on lines represent connections.
Hi DTR,
Well designed project! Why connect R (1k ) C(220n) parallel to the laser diode? How to calculate the values of these components?
This question is supposed to be answered by Jozef.
Can I use a 5k pot instead of 6k8? How will this affect the circuit?
Hello, I am creating a laser array using 4 of these 808D-4000-cmount diodes. I wish to create a parallel circuit so I only have to use 1 driver (12000ma). There are two options.. either create some elaborate mirror setup to combine the 4 into one beam, or simply aim each one separately at the same target (not preferred). For the driver.. should I just take all of your values for components and multiply by 8? It will have active cooling.
I haven’t tried driving multiple LDs in parallel yet… however, to get more current you could try experimenting with the voltage reference – say, substitute the LED for a TL431 and adjust the max current limit.
On the other hand I don’t think a linear supply such as this, is a good choice. I’d rather go for a SMPS with custom regulation..
Really awesome laser and schematic. I’m new to lasers and while I can solder things together I’m no electronics expert.
For the 4k7 and 1k resistors does the wattage rating matter? What do you recommend?
What should the ratings on the LED be?
Are there any connections that need to be made to the power supply/battery terminals other than the pos and neg VCC on the lm358? Or is there any other shared ground connection that needs to be made across multiple components? Again, I’m inexperienced in reading schematics.
Thanks,
Aixelsyd007
All resistors are rated 0.25W / 0.5W unless specified otherwise. The LED acts as an approximate 2V reference so any green, orange or yellow will work. The opamp shares a common ground with the circuit – supply it with Vcc as you usually would.
Regards
Hello.
I have the same laser diode, M140.
I’m going to try your circuit and have a question:
1.- The LM358, needs to be power supplied with V+ and V- (i think they are the pins number 4 [gnd] and 8 [v+]) or only connecting like in your example works fine?
2.- The two potentiometers (P1, and P2) are used to set maximum current and to fine tune the current intensity, but, which one is P1 and P2?
3.- Does it matter the connection position of the potentiometers ? I know that in the case of 4k7 , the central pin is important, but the other two pins are ?
Thanks a lot friend !!!!!!!
Hi,
Of course you need to supply Vcc to the op-amp, it won’t work otherwise. This is not shown in the schematic – I’m sorry, wanted to keep it clean.
If you reverse the order of the pot terminals, you’ll get a regulation from maximum to minimum current, instead from min to max. P1 (6k8) is set to limit the max current to the diode to approx. 1.5A (+- 0.25A). Set this with a screwdriver and an ammeter in series with the laser diode, so that when P2 (4k7) is at zero, it does not go past.
Needless to say the diode needs forced cooling if ran over 1 amp or else the lifetime decreases sharply. I’d use a Peltier piece if it had to be on full blast for more than a minute. A general rule of thumb would be an absolute maximum of 45°C module temperature – the chip inside the LED at that time has over a hundred, which is not good.
Very nice circuit! A couple of suggestions: label the pins on the LM358 op amp. Pin 1 is output, 2 is -, 3 is +, etc. Pins 4 (V-) and 8 (V+) are not shown. Variable resistors 6.8k and 4.7k are difficult to come by, I used a 5k trim pot and a linear 5k pot successfully in my circuit.
Thanks again for a very useful laser diode driver.
Regards,
Marc
Hi, I’m glad you like 🙂
The values are of the E12 range. Of course they are not crucial.
I think you meant “LM350” on your schematic…
Nope
Is this circuit compatible with 7.2volts?If it’s not, Can you draw a circuit for me?Input will be 7.2v with 3100mah (2 x 18650 li-ion batteries) How much volts and amps need for running 2w m140 stable wlth good performance?
My Father’s name is Yusuf(joseph) as same as your.
Thanks.
I think that’d work.
The operating current for this kind of diode is somewhere around 960 mA, don’t forget active cooling if ran in constant-wave.
Hi there,
Plese let me know if this driver can be used to drive 2.5W IR laser diode, supply voltage 2V, current consumption 3-4A.I need help as soon as possible, what should I change in this circuit to drive my IR laser diode.
Kindly thanks for your support.
Best regards,
Gregory
No, this driver needs at least 7 volts to work right. Jozef
Hi, by 2V supply voltage I mean 2V supply voltage for IR laser diode, not the driver itself.
The supply voltage to the diode itself (not the driver) does not matter if it’s bigger than its drop. You can even feed it with 300 volts if you like.
For laser diodes the drop lies somewhere between 2 to 2.5V. Should your supply be close to this value, you’ll have a hard time current limiting your setup. And this is always a must, just like with LEDs, however laser diodes require far greater currents.
I ordered the same laser diode, at first I ran it on 0,8A only, with a power resistor. It was cutting some plastic casing very good, but I wanted more power and regulated output, so I made this CC power supply and it behaved really strange. I connected it according to the diagram and tested on a dummy load. Everything went ok, so I connected the laser diode. ATX supply, which I took power from, started to whistle and even on 1,5A the beam wasn’t able to burn. So I guess it somehow damaged the diode. I can run it on 1,8A and it doesn’t burn a tiny hole into black tape.
In that case you might have fouled up something in the circuit. Have you measured current draw through the whole regulation, when you tested your dummy load and then the diode in-place. Was it linear, graduating smoothly ? Did the diode and its heatsink touch any other parts of your circuit by chance ?
I’ve used this setup with a wide range of input voltages from 6 to 14 V and never had a problem.
Is 220 n. same as .22 microfarad?
Yes.
Hi,many thanks for sharing your laser page.Could i ask please,the value of the 3 watt resistor connected to the positive battery terminal in you driver and could you suggest some common mosfet,s that would be suitable please.Many thanks indeed.
Best regards
Rich.
Hi, the resistor in-between the transistor’s source and negative terminal is one ohm.
About the FET, use whatever is at hand with on resistance below say 0R1 (0.1 ohm), and is mountable on a heatsink; say IRFZ44, IRF540 are a bit overkill, but will do their job.
Hello Bogin, Jr.,
I have referenced your wonderfull work in my Laserhead Project on the Driverpage:
http://www.laserhead.org/driverproject.html – I hope you like that. 🙂
Greets from Germany
– MasterAccurate(R), SEC(TM), EU – http://SEC.de.com/
Good job, thanks!
Regards.
Great work. Glad you liked the diode.:)