About a year ago I made a small project to see if I could make an old floppy controller chip, salvaged from a PC card, talk to an Arduino Mega board that I had left over from a 3D printer setup. With that being a success, I’ve extended the project to include 8-inch drives and 2.88MB PS/2 diskettes. One last step before I run out of RAM is to include ImageDisk support!
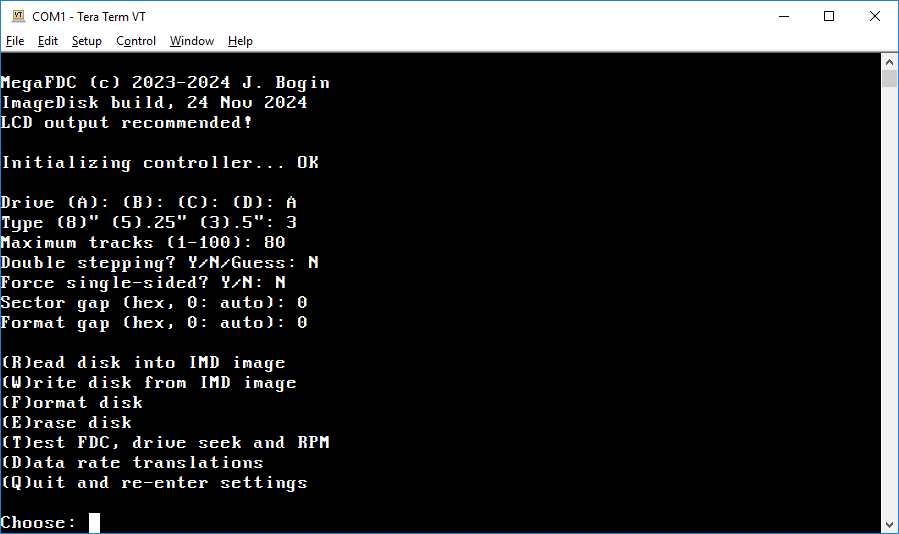
 Main menu, with IMD support turned on in the build.
The project stays exactly the same hardware-wise.
Although a regular build of the MegaFDC repository already supports creating and restoring binary disk images using the IMAGE command, you had to choose drive and disk media type beforehand – either from one of the pre-defined standard geometries, or – if custom – you had to supply all required parameters. In which case it included things such as media data rates or sector gaps, before the setup could work with the drive.
This had the drawback that the chosen geometry was applied uniformly for the whole disk media, reporting errors or bad sectors for any tracks that happened to be of a different format or geometry. So, for unknown disks it’s better to have some auto-detection going on. Since we’re using a PC FDC chip in this project, one of the better known disk imaging applications for the PC is the DOS ImageDisk by Dave Dunfield. And, an Arduino board is certainly smaller than a vintage DOS rig equipped with a known good controller card to read all sorts of weird disk densities and whatnot.
 Indeed, the NSC PC8477B is quite capable
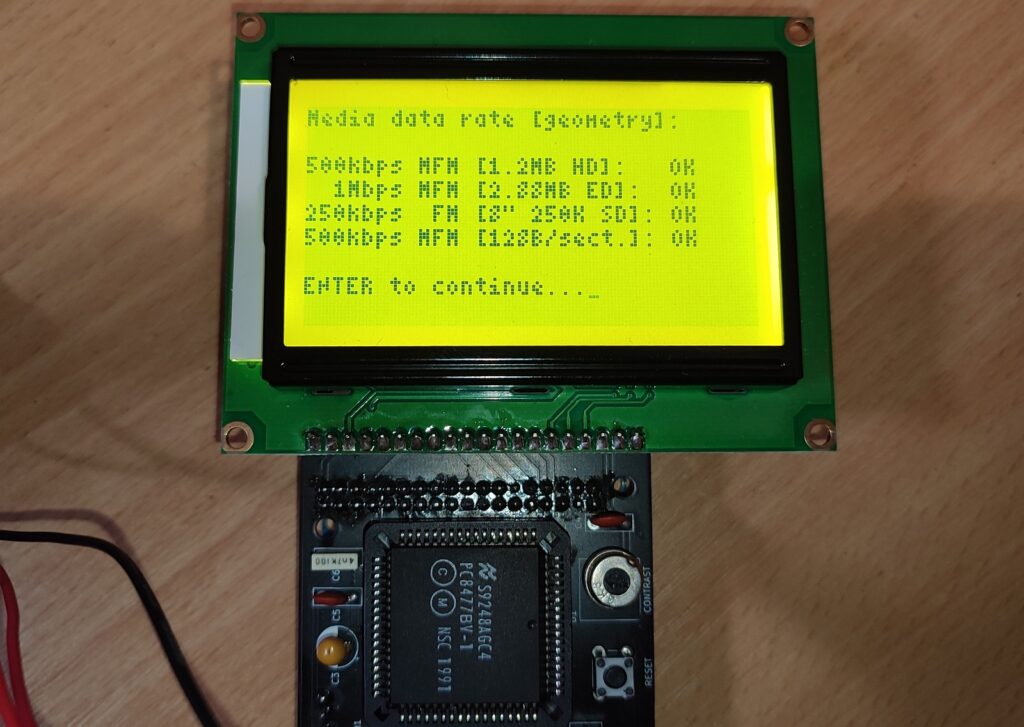
Main menu command: (T)est FDC, Floppy controller write test.
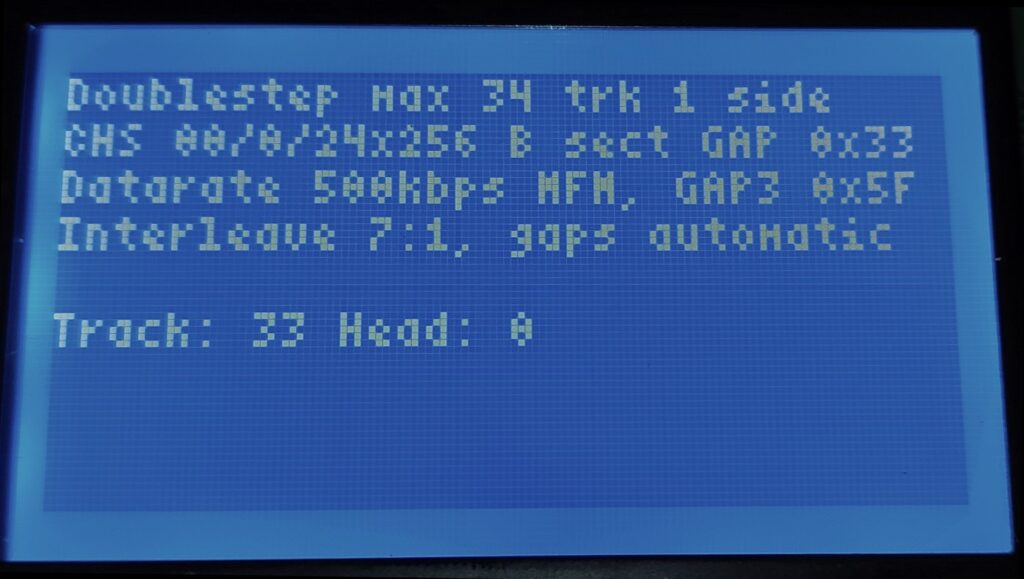
Interface-wise this works similar to the normal MegaFDC build. Uncommenting one line in the configuration header builds the “IMD mode” as seen above. The interface can be controlled from a terminal application or through a 128×64 display and a PS/2 or older USB keyboard, as before. In this mode I recommend the display output, leaving the terminal for file transfers only. This is because the IMD format can contain compressed data, excluded tracks or other details, so the “progress bar” of a file transfer no longer corresponds to the actual progress of a disk operation. With MegaFDC, the current disk geometry being processed, or any deviations to it, is only displayed on-screen as it happens, and only at the end of a serial file transfer the total number of unreadable tracks, bad sectors on disk or in the IMD image, are logged on both serial and display output.
The operation is quite straightforward: disk images are sent and received via XMODEM like in a vanilla MegaFDC through the Read and Write commands, the serial port is the USB-serial connection of the Arduino board. 1kB packet size is highly preferred to be used, I use Tera Term with good results.
The Read command behaves like IMD’s read command with “Full Analysis” and “Keep bad sectors” turned on, i.e. it detects mode and geometry changes, custom track and head numbers of a sector ID of a physical track, CRC errors and deleted data are marked, and it tries to skip tracks if they’re unreadable, instead of failing with an error. Note that any files received via XMODEM are always 128 (or 1024) byte aligned, and an IMD file has to have an exact length – this can be fixed with a simple script after receiving the file. See below for details.
The Write command additionally asks whether to process or ignore any sectors marked as bad in the IMD image file; this is because it’s not reliable to artificially create a “bad sector” on the target disk without a plethora of details, and a sector that could not be read right would be then written fine, including the broken data in it, and then marked as “good”. Which is not something one would expect.
A choice whether to do “rigorous verify” during writes was added by me, i.e. write and then read everything sector-by-sector, this to test the disk media being written to. This is ludicrously slow on an Arduino with XMODEM transfers, but someone might find use for it 🙂
Format and Erase disk are equivalents of IMD. Erase formats huge sectors at a low data rate to overflow the disk; in Format you can specify custom format interleave if wished. For simplicity reasons however, when reading or writing disk images, MegaFDC keeps the interleave of the source to target always original. To “reinterleave” an image you can use the utilities found in IMD archive.
 The bluescreen above is phobia inducing, so here’s something fancier
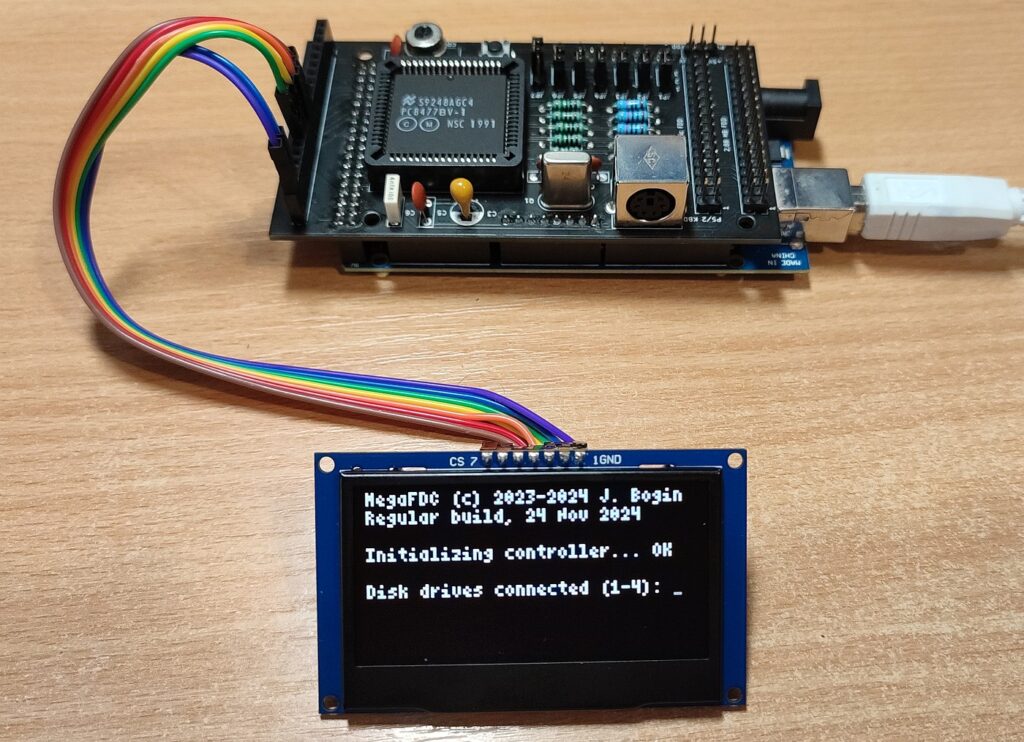
OLED display configuration available here
Data rate translations currently contain only one option, to translate between 300 and 250 kbps data rates. You must switch this on if you’re working a 300RPM 5.25″ double density disk in a 360 RPM 5.25″ high density drive, and keep it off in all other cases. (This is the equivalent of regular MegaFDC asking “Drive high density capable?”, to compensate for the +16,67% RPM increase while keeping the media data rate the same.)
Floppy controller test performs a write and verify test to see if the controller can do high density disks, extended density disks in a 2.88M drive (this test will be skipped unless the controller supports a 1Mbps data rate and has a FIFO buffer), and 8-inch test of 250kbps FM and 500kbps MFM with 128 bytes per sector. Except for the 2.88MB test, all the other tests will work on a regular 3.5″ 1.44MB drive if the controller supports the rates being tested.
Drive seek and RPM test tries to seek the drive using the Maximum configured tracks in the beginning, first in the fast mode (16ms stepper rate for 8″, 8ms for 5.25″ and 4ms for 3.5″ drives), and then track-by-track down to 0, while inspecting the TRACK00 signal each track.
The RPM should be 360 for 8″ and 5.25″ HD drives, 300 for the rest. However, this value can show up wacky for a drive that does not index sectors correctly, despite having its spindle RPM in tolerance, even though MegaFDC tries to synchronize up with sector one.
 Use longer timeout values if you have less than reliable disks, so that the terminal application won’t hang up on file transfer.
This example is from TERATERM.INI
Lastly, there are some known issues that need to be pointed out:
- Arduino Mega is on 8 kilobytes of RAM. The stack hasn’t met the heap so far, but it’s close. As such, imaging a track with a sector size of 8KB is not supported and will stop the file transfer, although MegaFDC will format and verify 8 kilobyte sectors if wished. And, unfortunately, the floppy disk chip requires its interrupt to be serviced within mere microseconds, so I cannot simply read and transmit one half of the sector, and then the other, without causing data overrun.
By default, sector size 4K is also disabled as it will throw a low memory warning during build. It has been tested to work fine nevertheless, and can be enabled by a one-line change, I just don’t like seeing warnings during builds and have no such sectored media on hand. 🙂 - The IMD mode cannot be switched on-the-fly to the regular MegaFDC “command line” mode, i.e. with FAT12/CP/M filesystem support – you need to change config.h and build. The reason is simple, it’s a three letter word that begins with R and ends with an M. You’ve guessed it.
- ImageDisk uses a simple sequential format whose header only contains a text description, all the other bytes are considered valid data. Combined with using a simple-to-implement, not-big-in-memory file transfer protocol such as XMODEM that doesn’t care about data length, it always sends its data packets in 128 byte or 1024 byte chunks, aligning the resulting file size with them. This is of no issue in normal MegaFDC as every binary disk image is divisible by 128, owing to the minimum sector size of 128 bytes, but data in an IMD file can be compressed or have various flags.
And, while DOS ImageDisk reads a file obtained like this, it will eventually encounter this packet padding, interpret it as track data – and crash, or do an undefined operation with the disk.
This is why IMD-enabled MegaFDC displays “Run ‘imdtrim.py’ before using!” after a Read file transfer, and also puts this warning into the description of the IMD file, so that when a file is loaded inside ImageDisk, this gets visible before continuing. This Python script is a part of the repository and will fix up the file size to be exactly what ImageDisk expects it to be. And, here’s a batch file that will do it for all IMD files that require it, in the current directory, all at once.
Once the file is “trimmed”, it can safely work with both IMD and its related applications of the archive. Conversely, MegaFDC detects the end-of-file marker and will work fine even when “untrimmed”.
I don’t blame you for this, Dave, don’t worry about it. 🙂 - The regular MegaFDC build supports PS/2 2.88MB diskettes, but in IMD mode this is not implemented apart from the “test floppy controller” routine for a simple reason: there’s no 1Mbps data rate supported in ImageDisk.
To image 2.88MB ED, build normal MegaFDC and use the IMAGE command to generate a regular ole binary image that you can open with any tool, such as WinImage. - The hardware part didn’t deviate from using a PC FDC in the circuit. This means, unfortunately, no weird Apple or Commodore formats even with IMD support. I originally conceived this project out of scrap to make a 5.25″ drive working with a modern system for read and write of DOS formats “through USB” without any weasly or fluxy stuff involved, and it is good enough 🙂
- IMD mode works sector-by-sector, while the normal build will try to cram as much as it can into the sector buffer size allocated, in one go. With BUILD_IMD_IMAGER uncommented, have some coffee ready, it is considerably slower than the regular build.

Nice !!!